Ecommerce Pro / Orders
Create shipping label from Ecommerce Pro
Table of contents
Generating a shipping label from Ecommerce Pro is a simple process that will allow you to manage your shipments efficiently. Follow the steps below to ensure all data is correct and your package reaches its destination without issues.
Steps to generate a shipping label
1. Log in to Envia.com
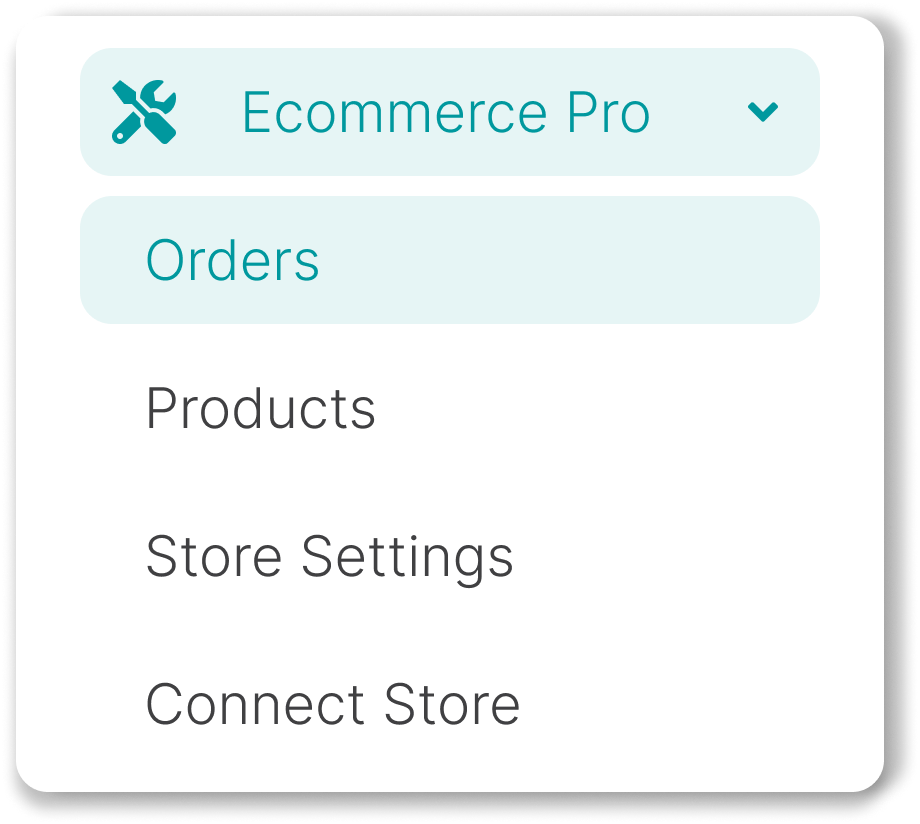
2. Go to Ecommerce Pro > Orders

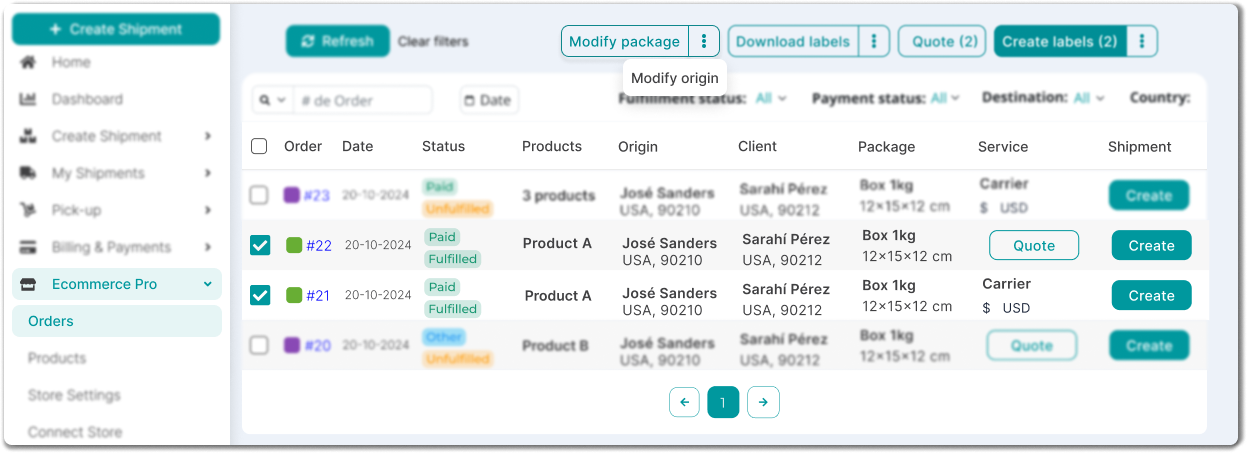
3. Review your orders and verify the following information:
- Origin address: Confirm that the origin address is correct.
- Assigned package: Verify that the assigned package is correct.
- If you need to make changes, select the order and click Modify package or Modify origin.
4. Find the order for which you want to generate the guide. Click on the Quote button and select the shipping service that best fits your needs.

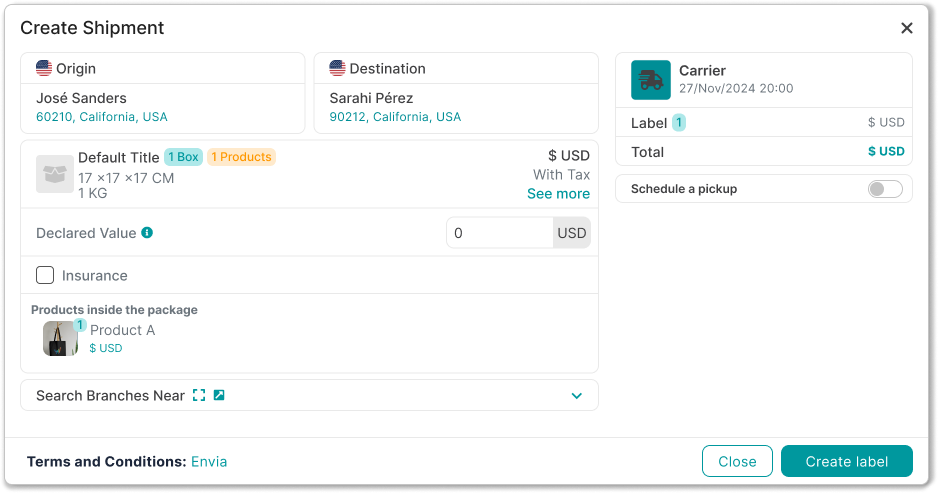
5. Once the service is selected, click Create and check that all information is correct:
- Destination address.
- Package details:
- Dimensions (length, width, height) and weight (kg).
- Declared value (optional). Enter the actual value of the product in the package.
- Insurance (optional). If you choose to add it, set an amount equal to the declared value for greater coverage.
- Products inside the package.
- Shipping service and cost: Check the selected service and the corresponding cost.
- Shipping options:
- Schedule a pickup, if you want your package to be collected. (More information about pickups).
- Find nearby branches, if you prefer to drop off your package at a nearby location.
- Shipping options:
6. Click Create label to complete the process.

Steps after generating the label
- Download your shipping label in PDF format
- Print the PDF and attach it visibly to the package
- Go to the My shipments section to monitor the status of your shipment at all times
Important. Make sure you have enough balance in your account to generate labels.
Did you find this resource useful?