

Shopify

Connect your Shopify store with Envia.com to automate shipments, show real-time shipping rates to the buyer, and manage multiple carriers from one place. This integration improves your operation and your buyers’ experience.
Connect your Shopify store to Envia.com
Section titled “Connect your Shopify store to Envia.com”- Sign in to your Envia.com account
- Go to Ecommerce Pro > Connect Store
- Click Integrate my ecommerce, select Shopify and then click Continue.
- On the next page, select Install and sign in to your Shopify account.
- Accept the required permissions and select Install.
- Verify the email registered in Envia.com and click Continue.
That’s it! Your Shopify store is now integrated with Envia.com.
Set up your store in Envia.com
Section titled “Set up your store in Envia.com”You make these settings from your Envia.com dashboard. They are required for the integration to work correctly.

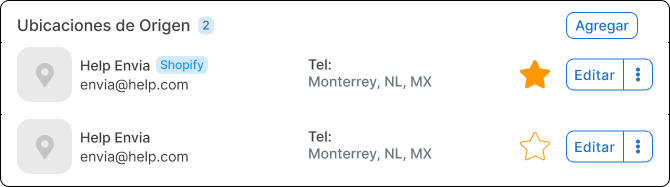
Origin address and packages
Set where your shipments leave from and which packaging you use to calculate shipping rates
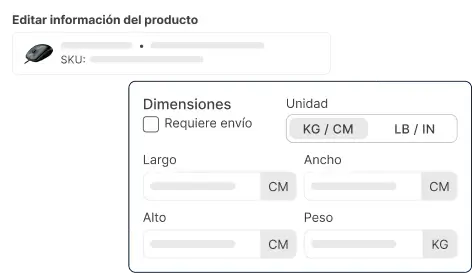
Products
Set the weight and size of each product. The system then calculates rates correctly and picks the right package
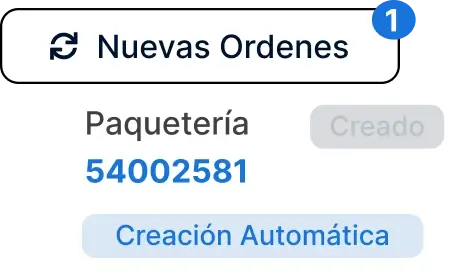
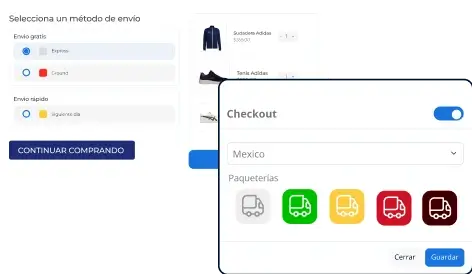
Store checkout
Show the shipping cost in real time when the buyer checks out. It improves the experience and avoids surprises
For more details, see our Help Center articles on setting up your store.
Set up your store in Shopify
Section titled “Set up your store in Shopify”Enable the automatic quote tool (checkout)
To turn on the automatic quote feature in your store, you need to meet certain Shopify-specific conditions. These let you optimize checkout and improve the buyer experience. To see all details and requirements for this tool, review the conditions in the Shopify Help Center.
Solution: Error message when enabling checkout
Section titled “Solution: Error message when enabling checkout”To enable the Envia.com checkout service, you first need to enable carrier-calculated shipping in your Shopify store.
If you do not meet this requirement, you may see the following error message:

This message simply means you need to enable a specific setting in your Shopify store before you can use the Envia.com checkout service. Make sure you enable this option in your store’s shipping settings so you can use all integration features.
Selecting carrier services by shipping zone
Section titled “Selecting carrier services by shipping zone”Shopify now requires you to explicitly select carrier services when you set up a shipping option of the “app/carrier” type in your shipping zones. Previously, all available services were shown and applied automatically; with this change, you need to choose them manually the first time you set up or update a zone.
To add the Envia.com service correctly in any zone of your General shipping profile, follow these steps:
- Go to Settings > Shipping > General profile.
- In the zone you want to set up, click Add shipping option.
- Select the rate type Use carrier or app.
- Choose the Envia.com Checkout Service from the list of available apps.
- Select all carrier services that appear in the list.
- Turn on the Automatically include new services when they become available checkbox.
- Save your changes.
Repeat this process in each shipping zone where you use Envia.com, because the setting applies independently per zone.
Pickup point delivery (Pickup Point Delivery Option)
Section titled “Pickup point delivery (Pickup Point Delivery Option)”Pickup point delivery lets you offer buyers an extra shipping option directly from your Shopify store checkout. Instead of receiving the order at home, buyers can choose a nearby pickup point on an interactive map, which makes delivery easier and improves the purchase experience.
Installation and setup
Section titled “Installation and setup”-
Request the installation: contact your Envia.com point of contact to grant permissions and receive the installation link.
-
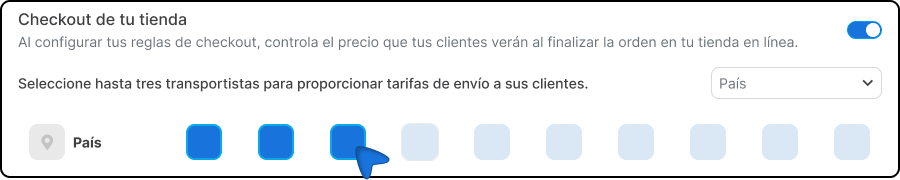
In Envia.com: go to Ecommerce Pro > Set up your store, turn on automatic quote at checkout, and select carriers with pickup point service.
-
In Shopify:
- Go to Settings > Locations, and make sure you have an active location with Pickup point shipping enabled in the Order fulfillment section.
- Go to Settings > Shipping and delivery.
- In the Pickup point shipping section, select the corresponding location and turn on the location status.
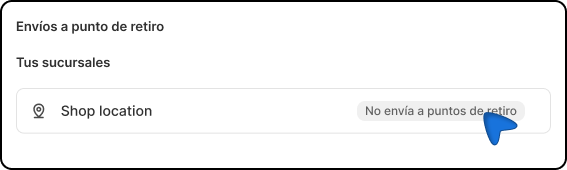
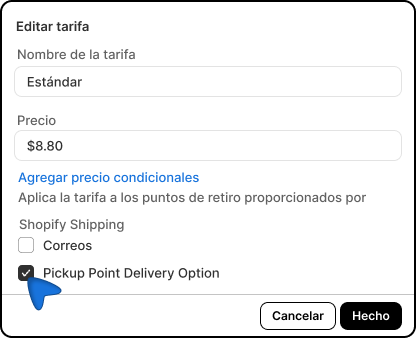
- In Pickup point rates, click the three dots (…) and select Edit rate.
- Turn on Pickup Point Delivery Option.
- Go to Products > Inventory**.**
- Confirm that all your products have available inventory at the active location.
Local settings by country
Section titled “Local settings by country”Some countries require specific checkout adjustments in Shopify so certain tax ID fields display correctly. Below are the steps for each case.
Colombia: “Nit/CC” field
If your Shopify store is in Colombia and you use Ecommerce Pro, adjust the following details so the information in your orders is accurate:
- Sign in to Shopify and go to Settings.
- In Checkout, find Customer information.
- Mark Company name as required and save your changes.
- Find Checkout language and click Manage checkout language.
- Make sure you are in the Checkout & system section and find the Company label field.
- Type “Nit/CC” in Company label and save.
These adjustments make sure the Nit/CC field displays correctly in the details of your future orders in Colombia.
Chile: “RUT” field
If your Shopify store is in Chile and you use Ecommerce Pro, make the following adjustments so the Rol Único Tributario (RUT) field appears correctly in your orders:
- Sign in to Shopify and go to Settings.
- In Checkout, find Customer information and mark Company name as required. Save your changes.
- Find Checkout language and click Manage checkout language.
- Make sure you are in the Checkout & system section and find the Company label field.
- Type
RUTin Company label and save.
With these adjustments, the RUT field will display correctly in the details of your orders in Chile.
Guatemala: “Zona” field
If your Shopify store is in Guatemala and you use Ecommerce Pro, adjust the following details so the information in your orders is accurate:
- Sign in to Shopify and go to Settings
- In Checkout, find Customer information. Mark Address line 2 (apt., suite, building, etc.) as required and save your changes.
- Find Checkout language and click Manage checkout language.
- Make sure you are in the Checkout & system section and find the Address2 label field. Change the text in Address2 label to “Zona” and save your changes.
These adjustments will make sure the Zona field displays correctly in the details of your future orders in Guatemala.
Frequently asked questions
Section titled “Frequently asked questions”How do native costs work in Shopify?
You can set fixed shipping costs in your Shopify online store, with different conditions. To learn how to set them up, see the following article with the available options. Shopify article on shipping rates
What should I do if the tracking number does not update?
This happens when an order is generated in Envia.com with its tracking number and it does not update correctly in Shopify. Follow these steps to fix it:
- In Shopify, select Orders and find the order with the incorrect number.
- Inside the order, select the three dots and click Edit tracking.
- Copy the correct tracking number from Envia.com into the Tracking number field.
- Make sure the Shipping carrier is correct and adjust it if needed.
- In Tracking URL, add the Envia.com tracking page link.
- Save your changes.