

Salesforce

Steps to integrate Salesforce
Section titled “Steps to integrate Salesforce”- Visit envia.com and go to Ecommerce Pro > Connect Store
- Click the Integrate my ecommerce button and select Salesforce.
- Enter the name of your Salesforce store and the country it belongs to, then click continue.
- Accept the permissions our app needs. Click Allow.
- Once the connection is authorized, you will be redirected to Envia.com . If that does not happen, click the link that appears on your screen.
- Verify the email registered in Envia.com and click Continue.
That’s it! Your Salesforce store is now integrated with Envia.com .
Set up your store in Envia.com
Section titled “Set up your store in Envia.com”You make these settings from your Envia.com dashboard. They are required for the integration to work correctly.

Origin address and packages
Set where your shipments leave from and which packaging you use. This is required to schedule pickups and get quotes
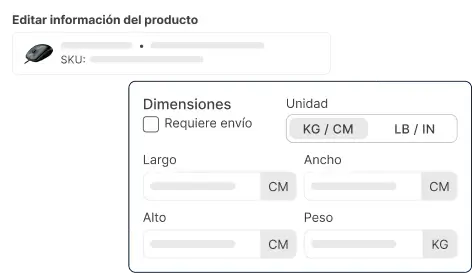
Products
Set the weight and size of each product. The system then calculates rates correctly and picks the right package

Automatic package
The system picks the best packaging for each order so you do not have to do it by hand
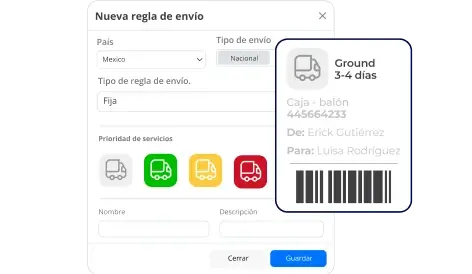
Automatic shipping rules
Set shipping rules that automatically calculate shipping costs for your orders
For more details, see our Help Center articles on setting up your store.