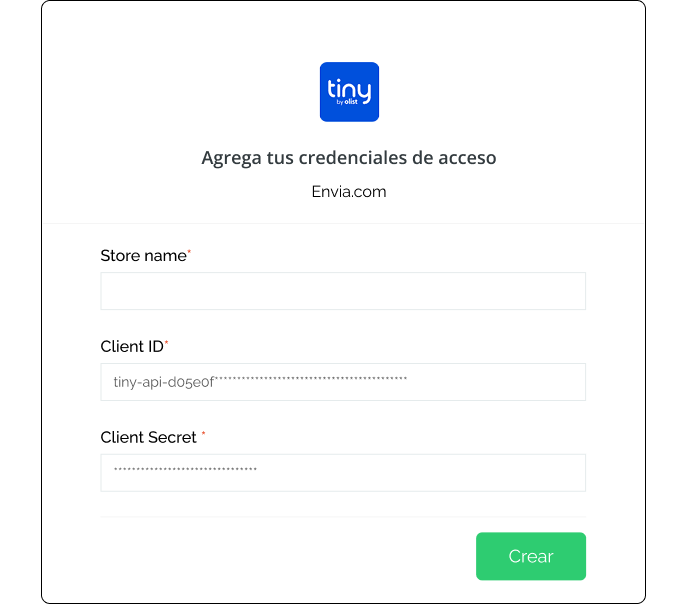
Type in the name of your store and then click on Continue.
In the next screen you will have to enter:
Client ID
Client Secret
This data is obtained from your Tiny account. Follow the steps below.
Install the extension in Tiny
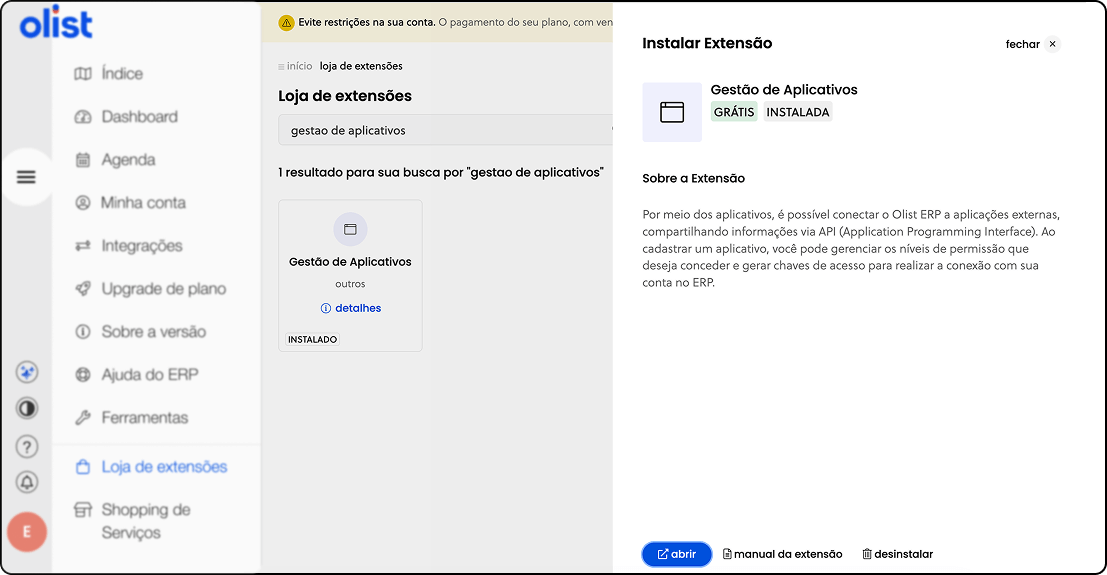
To generate the credentials it is necessary to install the following extension Application Management.
1. Log in to your Tiny.
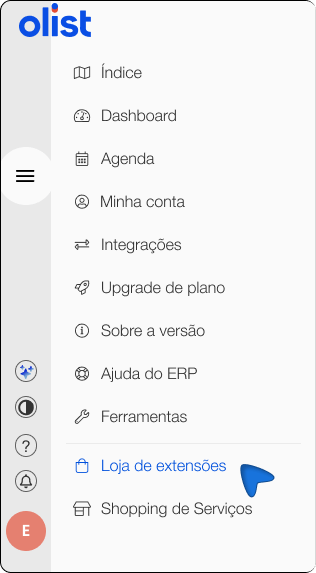
2. In the left side panel, select Extensions Store
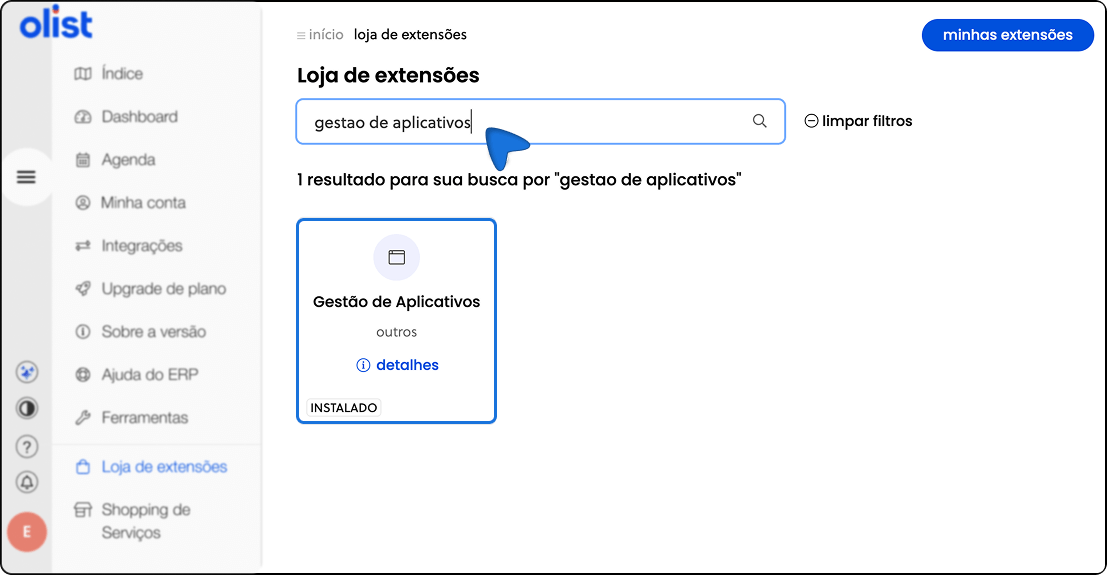
3. In the search engine, type: Application Management
4. Click on Install and confirm the installation of the extension.
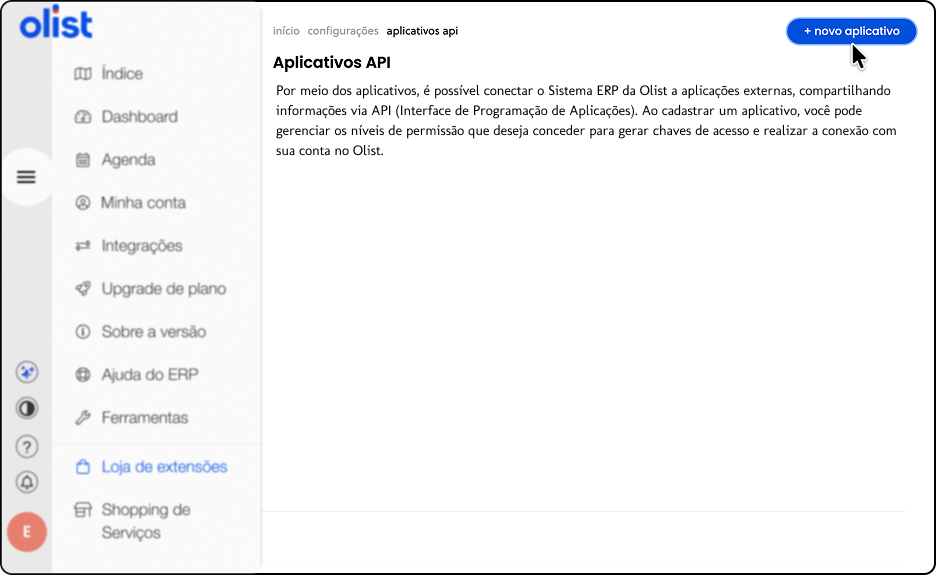
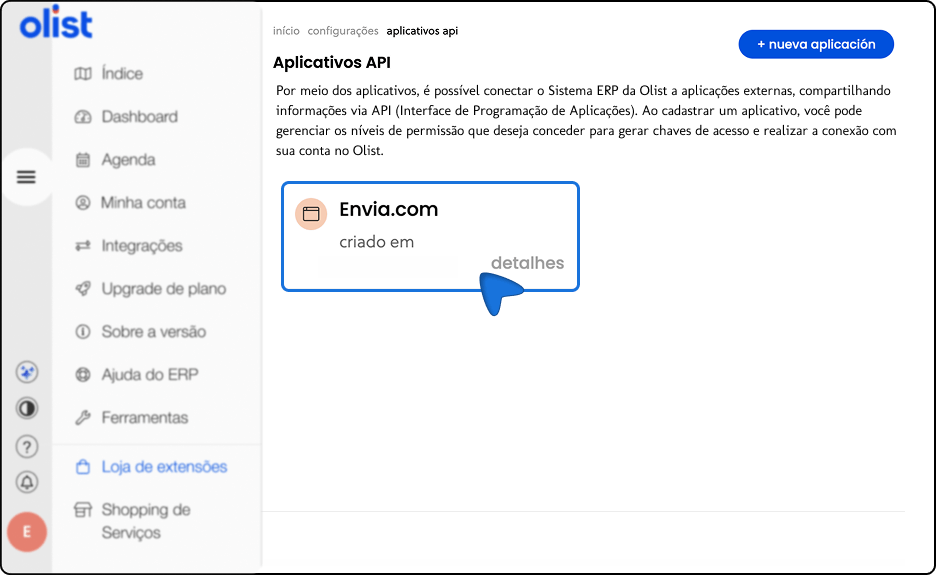
Create a new application in Tiny
5. Login to the extension Application Management.
6. Click on Create new application.
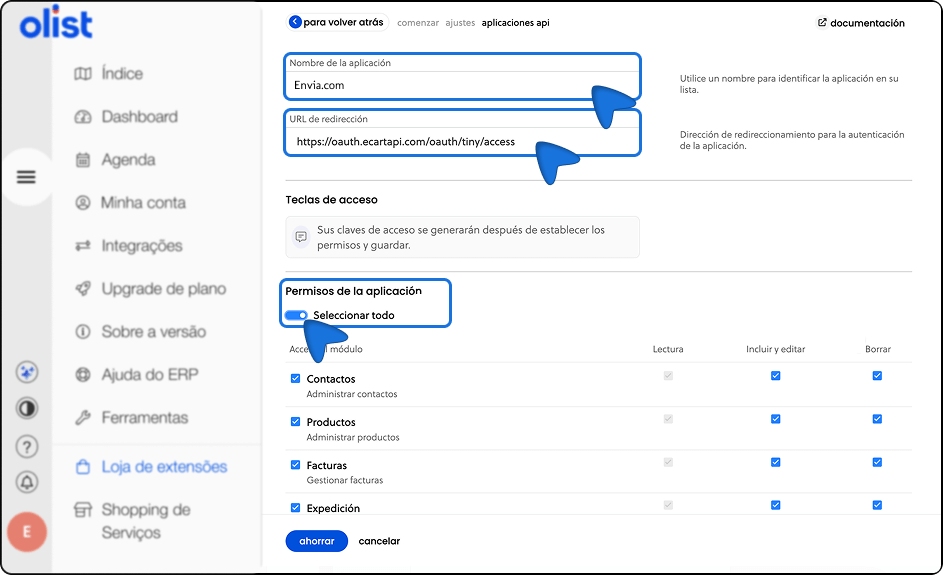
7. Complete the requested fields:
Name of the application. You can use any name, but it is recommended that you use the same name Store Name you entered on Envia.com for easy identification.
Redirection URL (required). Enter exactly the following URL: https://oauth.ecartapi.com/oauth/tiny/access
⚠️ It is very important that the URL is written exactly as it appears, without spaces or modifications.
In the permissions section, select Select all.
Click Save.
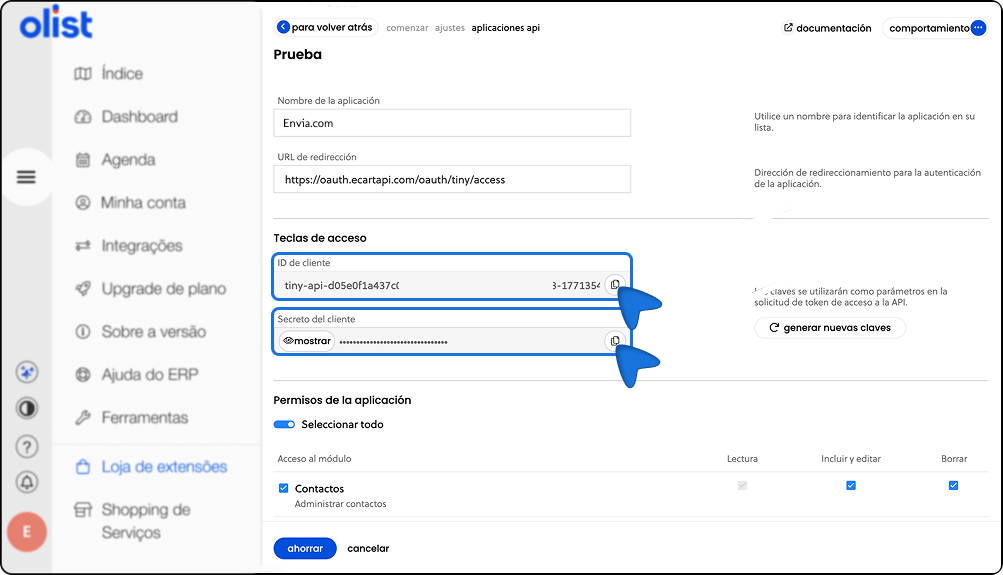
Obtain Client ID and Client Secret
8. Once the application has been created, log in again.
9. Go to the section Access keys.
10. Copy the following data:
Client ID
Client Secret
Finalize Envia.com integration
11. Return to the integration screen in Envia.com account.
12. Glue the Client ID and Client Secret in the corresponding fields.
13. Verify that the information is correct.
14. Click on Create.
You're done! Your Tiny store is now connected to Envia.com.
Set up your store on Envia.com
These settings are made directly from your Envia.com panel. They are essential for the integration to work properly.
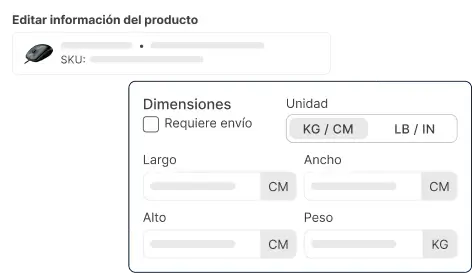
Source address and packages
Establish where your shipments leave from and what packaging you use. This is necessary for collecting and quoting.


Did you find this resource useful?