

First steps / Account settings
Add customers
The Customers allows you to save and organize the information of people or companies to whom you send frequently. By having their data registered, you will be able to generate waybills faster and without having to enter the data each time.
From this section you can add three types of customers: Individuals, Companies and Distributors.
Customer section overview
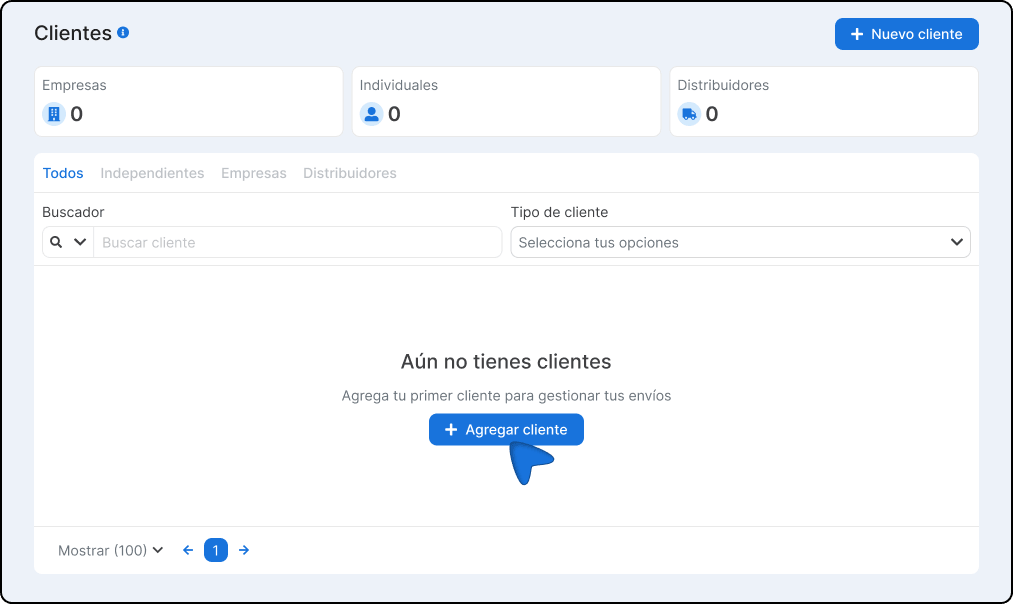
When you enter the section you will see a summary with the count of registered clients by type, followed by a table with all your clients.
Customer summary
Three cards with the total number of customers per category are shown at the top:

Three cards with the total number of customers per category are displayed at the top.
| Card | Description |
|---|---|
| Individual | Total number of customers registered as individuals |
| Companies | Total customers registered as a company |
| Distributors | Total customers registered as distributor |
Customer table
The table shows the complete list of your registered customers. You can navigate between pages using the pagination controls at the bottom, and adjust how many records are displayed at a time.
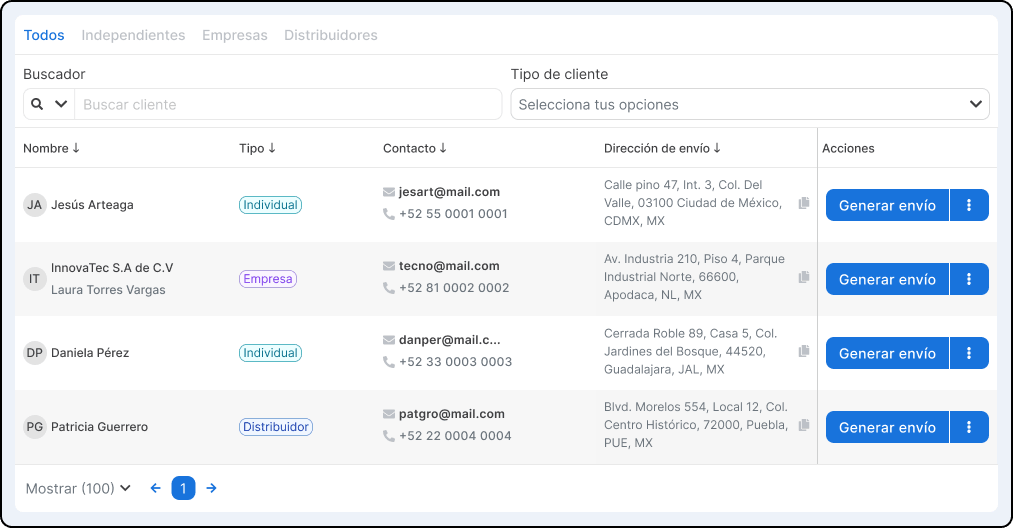
Available filters
You can quickly find a customer using the following tools.
| Filter | Description |
|---|---|
| Type tab | Click All, Individuals, Companies and Distributors to see only that group |
| Searcher | Type the customer's name in the search bar |
| Type of customer | Use the drop-down menu to filter by specific category |
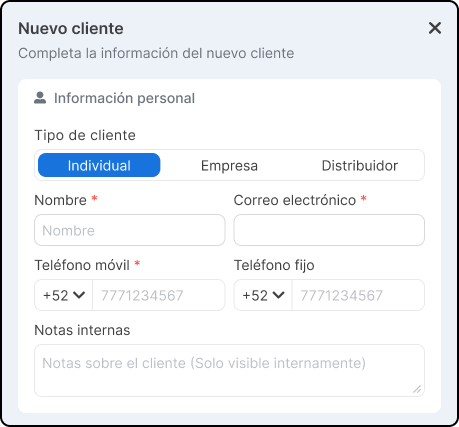
Add a new customer
Log in to your Envia.com account.
2. Go to Settings > Clients
3. Click on +New customer.
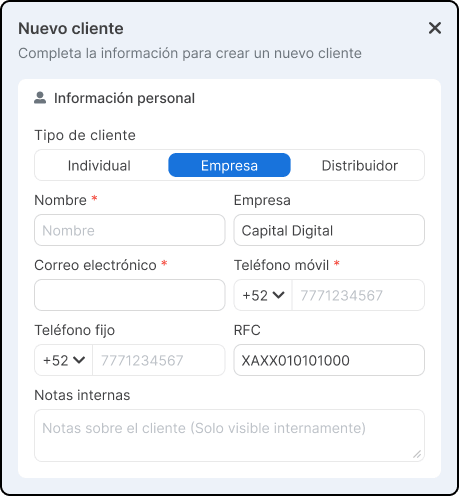
4. Choose one of the three options:
- Individual - For individuals
- Company - For businesses or legal entities
- Distributor - For partners or distributors of your products
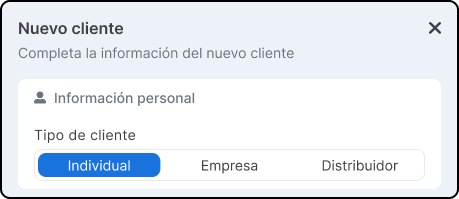
The available fields change slightly depending on the type of customer you select.
5. Fill in the contact information according to the type of customer.
Individual
Company
Distributor
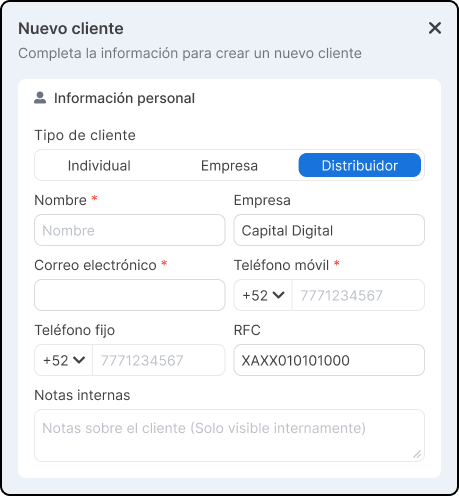
Internal notes: This field is only visible to you. You can use it to add references or comments about the client.
6. The section of Billing address is automatically populated with the contact information you entered. Check that they are correct and complete the additional fields:
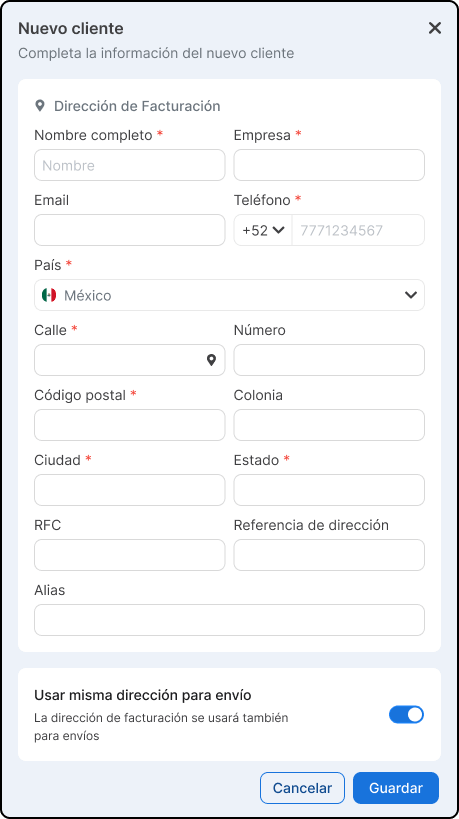
7. Click on Save. The customer will be registered and will appear in your customer table.
Generate waybill
Once you have a registered customer, you can generate a waybill directly from this section without the need to enter their data again.
- Locate the customer in the table using the search engine or the filters.
- Select the option Generate shipment.
- The customer's data will be automatically loaded in the shipment form.

Important Notes
- Fields marked with * in the form are mandatory.
- You can edit or update a customer's data at any time.
- The field Internal notes does not appear in any guide or external document; it is exclusively for your use.
- Having complete billing data streamlines the issuance of invoices if necessary.
Did you find this resource useful?