







Ecommerce Pro / Orders
Create manual order in Ecommerce Pro
Whether you receive orders via WhatsApp, phone, social media, or in person, you can record them directly on Envia.com. You don’t need to have a connected store. With a manual order, you can track what was sold, to whom, where the shipment is coming from, and whether it’s been paid for—all from the same dashboard.
What is a manual order?
A manual order is a sales record that you create directly in Envia.com, rather than one that comes from an online store such as Shopify or WooCommerce. It allows you to document the entire sale: products, customer, source, amount, currency, and payment status.
Steps to create a manual order
1. Open the new order form
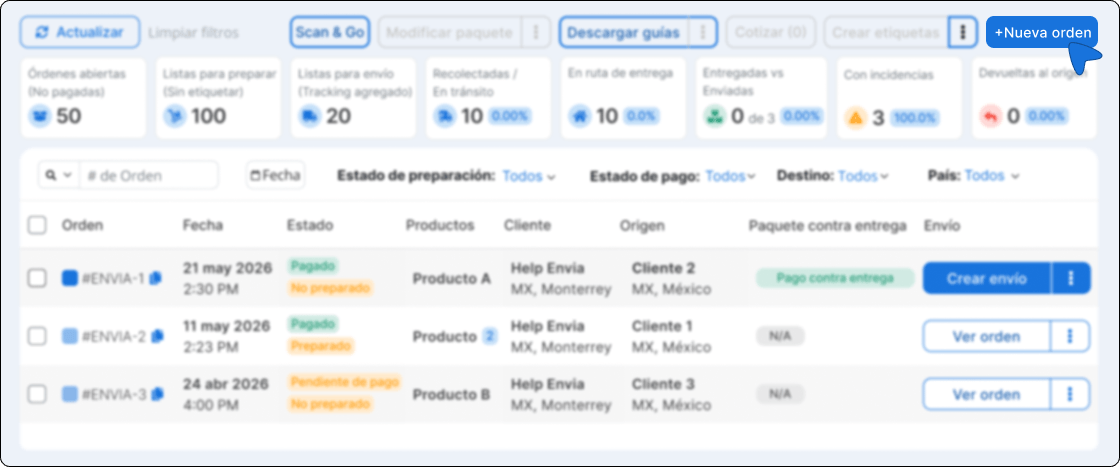
Go to Ecommerce Pro > View Orders and click on + New order.
The screen for creating a new order will be displayed.
2. Select the source address
Before quoting or creating the order, define where the shipment is coming from.
- On the card for origin, search for and select an address.
- If you don't have an email address yet, create one using the form.
- If the address is incomplete, please fill in the missing information before continuing.
ℹ️ The source address is mandatory to create the order. The system may preselect your store's preferred source; you can change it at any time.
The selected origin is used when calculating the shipping cost and is saved in the order.
3. Add the products
In the field Product Directory, type the name of the product you want to add and select it from the menu. You'll see its thumbnail, name, SKU, and price.
Inside the table you can:
- Edit the price directly in the field.
- Adjust the amount using the buttons + and –.
- Delete a product with the red button.
- Click on the product name to edit its details from the side panel.
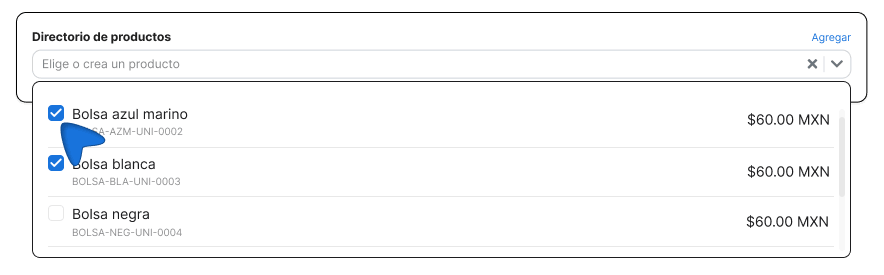
Order Currency
The first product you add determines the currency for the entire order. Products priced in other currencies are hidden from the search results to prevent you from mixing prices. Totals and the summary are displayed in the order currency.
ℹ️ To change the currency, remove all items from the order and first add one item in the currency you need.
ℹ️ Is the product not available yet? Click on Add (upper right corner of the search field) to create it on the fly. Once saved, it automatically appears in the results.
4. Add the shipping destination
In the right-hand panel, you have two ways to add the customer's address:
- Address saved. Search among the addresses you already have saved in your account. Enter a name, street, or ZIP code to find it.
- Client. Search for the customer by name, email, or phone number. When you select them, their name, email, phone number, and address are automatically filled in.
Within the tab Saved Address, you can also choose how to enter a new address:
- Address. Enter the recipient's information manually, field by field.
- AI-Powered Navigation. Type the address in free text, and the AI automatically identifies the street, number, neighborhood, city, and ZIP code. This is useful when a customer shares their address with you via text message or in an unstructured format.
ℹ️ Smart Navigation It's especially useful when a customer sends you their address via WhatsApp or text message and doesn't use a standard format. The AI parses the text and fills in the fields for you.
ℹ️ If the destination address is incomplete, you'll see a prompt to fill in the missing fields before getting a quote or creating the order.
5. Add tags
In the field Tags, type the tag you want to use and press Enter to add it. You can use tags such as VIP, Urgent and Influencer_A. To delete a label, click on it.
6. Add or quote the shipping method
In the field Method of shipment From the right-hand panel, you can:
- Write the appropriate method in free-form text. (Express, Free shipping, FedEx Priority, etc.), or
- Get quotes from your connected shipping carriers if you have the checkout asset.
To get actual rates, you need:
- Origin address
- Destination address
- At least one product
ℹ️ If checkout is enabled and there are no rates, you'll see a message stating that no quotes are available for that combination.
7. Create the order
When you finish completing the order, the main button gives you three options depending on the status of the payment. Choose the appropriate one:
Mark as paid
Use it when the customer has already paid. When clicked, a summary appears with the number of products and the total. Confirm with Create order to save it as paid.
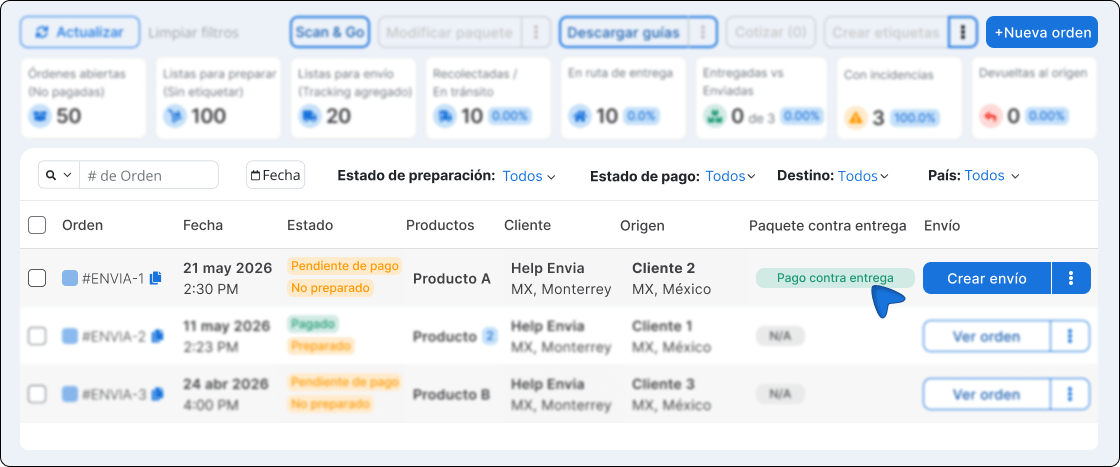
Create with cash on delivery
Use it when the customer will pay upon receiving his order. Access this option from the three-dot menu next to the main button. The order will appear in your list with the label Cash on Delivery.
Create order
Use it when the customer has not yet paid. The order is saved with the status Pending payment. You can then mark it as paid in person or collect payment via a EcartPay payment link.
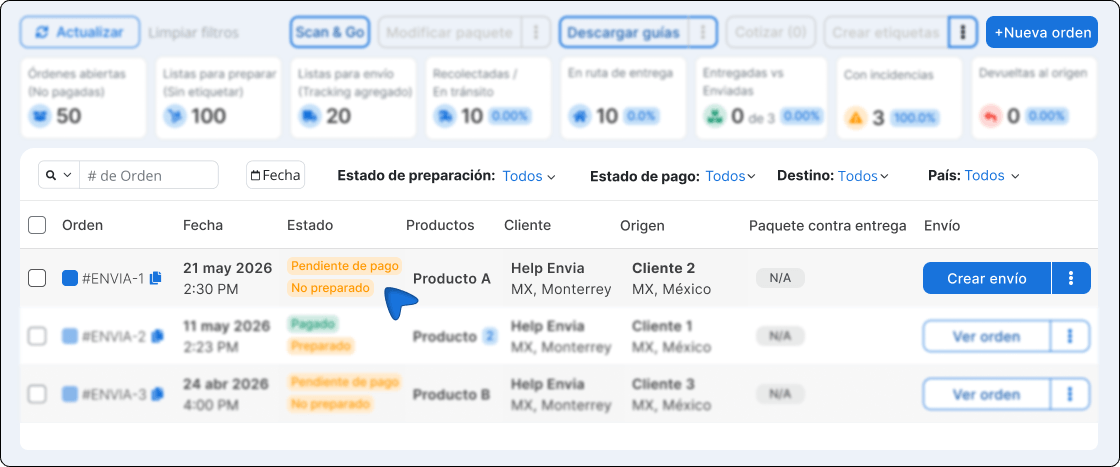
8. Mark a pending order as paid
If you created the order with pending payment and the customer pays later, you can update it from the order table:
- In Ecommerce Pro > View Orders, locate the pending order.
- Click on the action Mark as paid.
- The order becomes paid and the stock disappears.
ℹ️ This feature is only available in manual orders with payment pending. Does not apply to orders from Shopify, WooCommerce, or other connected integrations.
If you'd rather send the customer a link so they can pay online, use Create a payment link. The complete guide is available at Collect payment for pending orders using a payment link.
Shares Available on an Order
Once created, you can manage each order from the actions menu (three dots) in the table of Orders:
| Action | What does it do? |
|---|---|
| See order | View the full order details |
| Create a payment link | Generate an EcartPay link to collect payment for a pending order. View Collect payment for pending orders using a payment link |
| Link Order to Shipment | Link the order to an existing shipment |
| Split Order | Divide the products into multiple packages |
| Mark as paid | Change the payment status to "Paid" (for pending orders only) |
| Cancel Order | Cancel the order and mark it as Canceled |
ℹ️ The shares Create a payment link, Mark as paid and Cancel Order They are only available for orders created manually on Envia.com. They do not apply to orders from Shopify, WooCommerce, or other integrations.
ℹ️ Once canceled, the option Cancel Order It disappears from the menu. If you need to record the sale again, you'll have to create a new manual order.
FAQ
Is the source address required?
Yes. You must select or create a pickup location in order to create the order. That address is also used when calculating the shipping cost.
Can I mix products priced in MXN and USD in the same order?
No. The first product sets the currency. Products in other currencies remain disabled until you clear the product list.
Do I need a connected store to create a manual order?
No. Manual orders are created directly in Envia, even if you don't have Shopify, WooCommerce, or another integration.
Can I collect payment for a pending order from the same section?
Yes. If the order is pending payment and you have EcartPay set up, use Create a payment link from the order actions. For information on currency requirements, roles, and how to share the link, see Collect payment for pending orders using a payment link.
What is the difference between "Mark as Paid" and "Create Payment Link"?
Mark as paid Update the status when the customer has already paid you through another method. Create a payment link It generates an EcartPay link so the customer can pay online; when the payment is completed, the order is automatically marked as paid.

Did you find this resource useful?