







Ecommerce Pro / Orders
Scan & Go: Create picking lists by scanning your orders
Scan & Go is an e-commerce screen designed to help you pack orders and generate shipping labels faster. You scan the order code, confirm that the products are packed, and create the shipping label in a single workflow—without having to navigate through the entire order dashboard.
It's ideal if you work in a warehouse or at a packing station: you can use a barcode scanner, type in the order number, or scan it with your phone's camera.
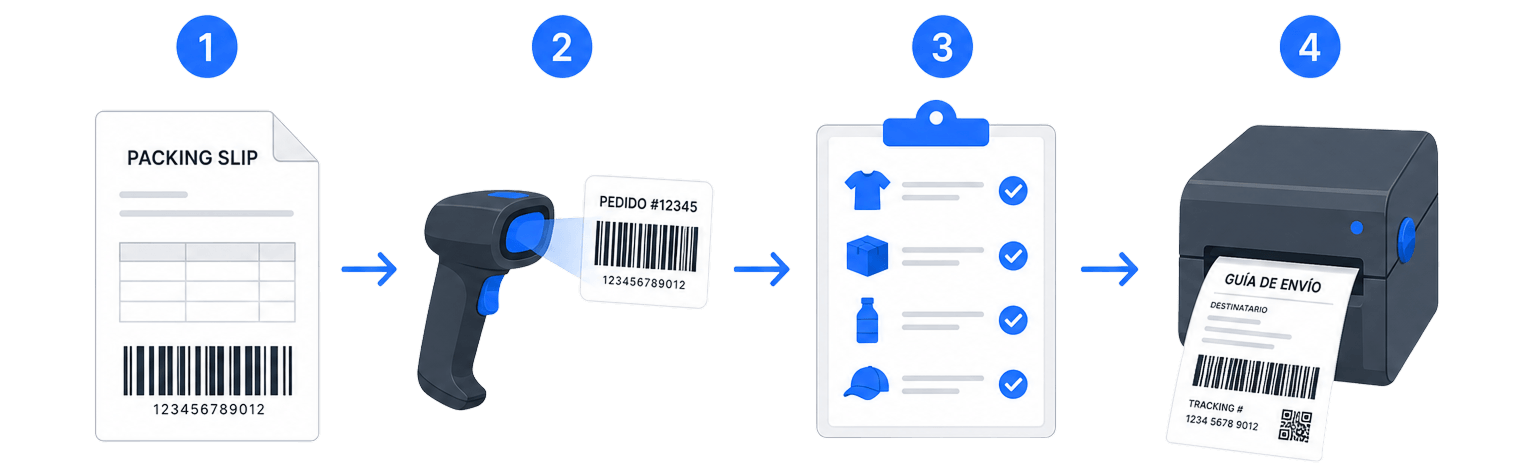
What is Scan & Go?
It is a tool within Ecommerce that combines three steps into a single view:
- Identify the order (by scanning or entering the code).
- Check to make sure the products are packaged.
- Generate, print, or download the guide.
The order code is in the packing slip (packing slip). When you open Scan & Go without an order loaded, you'll see a visual guide with these same steps to help you get started.
ℹ️ Before generating the shipping label, the order must have selected courier service. If it's missing, Scan & Go will notify you, and you can open the order in Ecommerce to select it.
How to Open Scan & Go
- Log in to your Envia.com account.
- Go to Ecommerce Pro > View orders.
- Click the Scan & Go.
You can also select one or more orders in the table and open Scan & Go from there: the orders will be added to a queue to be processed in sequence (That process is explained later.).
Basic workflow: one order at a time
1. Find the order number
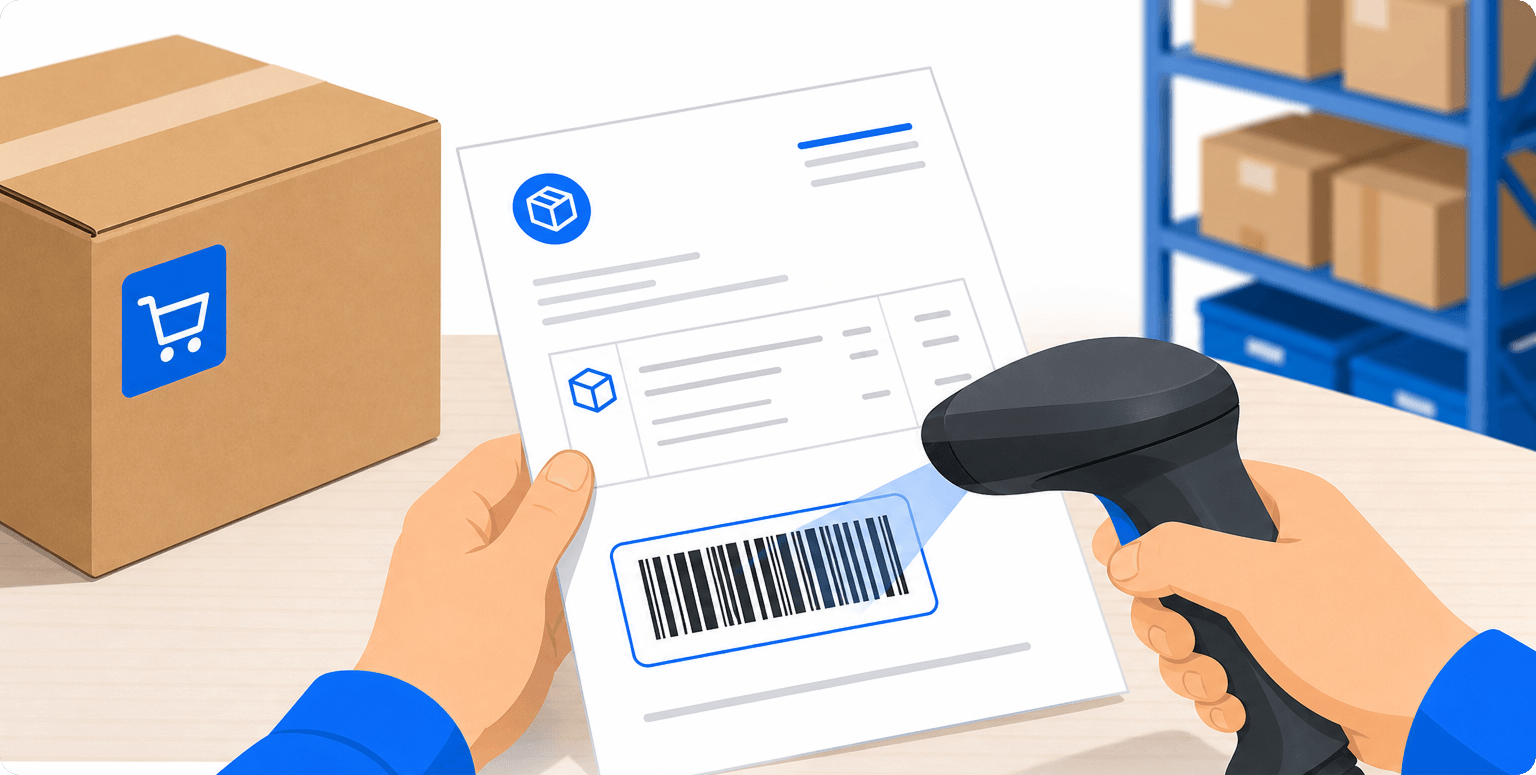
Print or have the following on hand: packing slip for the order. The order's bar code appears on that document.
2. Scan or enter the order
There are three ways to do this:
| Method | When to Use It |
|---|---|
| Barcode scanner | On a desktop or workstation: Scan the code on the packing slip. The system captures the scan when you confirm (Enter). |
| Text field | Type or paste the order number/code and click "Confirm" to upload it. |
| Cell phone camera | On the mobile view, tap the "Scan with Camera" button, center the code, and confirm. |
When the order is loaded successfully, you'll see the order details and the list of products. You'll hear a confirmation sound so you don't have to keep looking at the screen.
ℹ️ If the order cannot be found, you'll see an error message and can scan again. There's also a different sound to indicate the error.
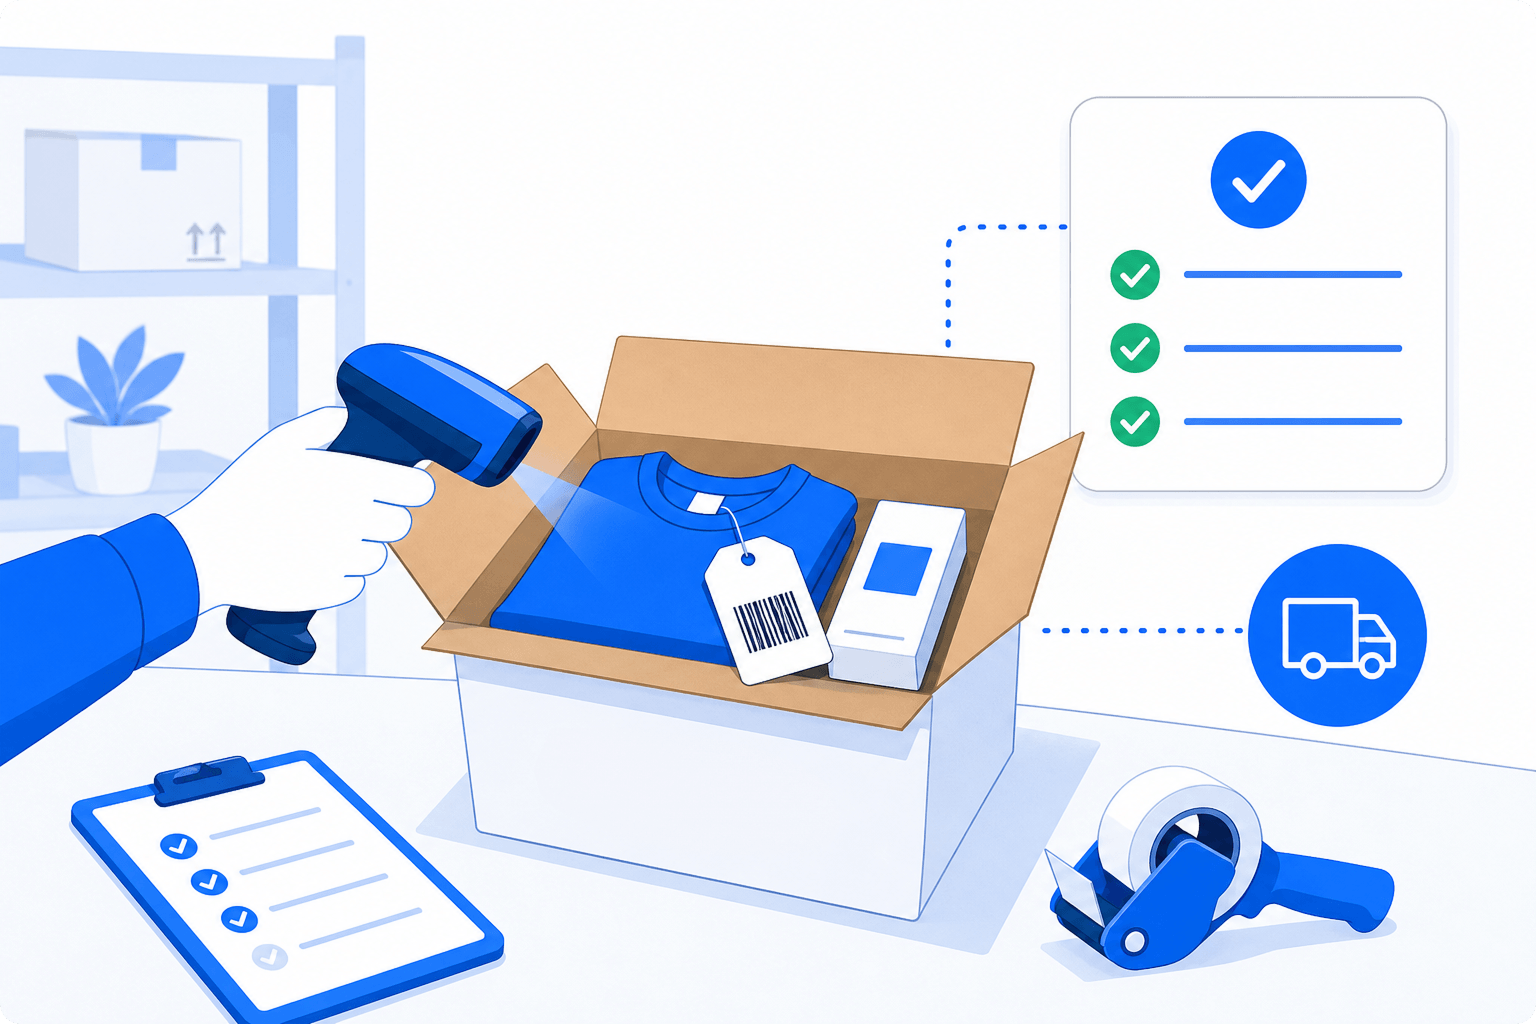
3. Check the packaged products
Check the boxes in the list to mark each product as packed. You can also select or deselect all items at once when applicable.
You must check All pending products as packed before creating the guide. If you try to generate the guide without completing the verification, Scan & Go will notify you and will not start the generation process.
ℹ️ For orders with more than one origin or location, products are grouped by location. Review each group before generating the order.
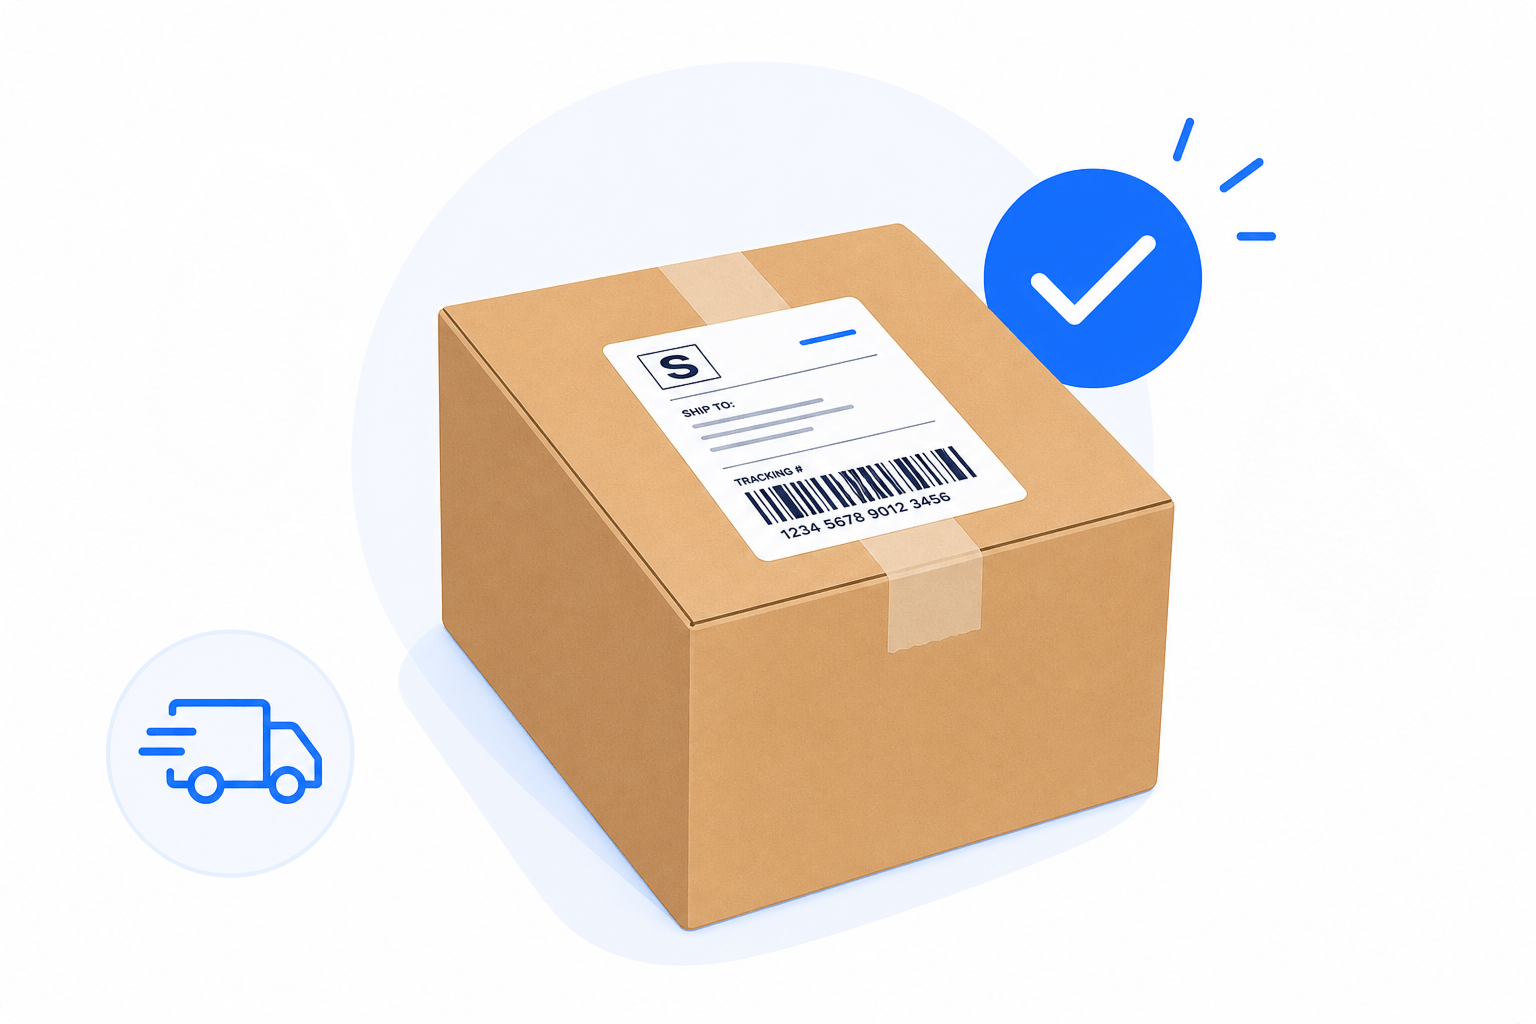
4. Create the guide
- Please confirm that the shipping information appears correctly on the order.
- Click Create guide (or the equivalent on the screen).
- You'll see the generation progress step by step.
- Once completed, the guide is downloaded or opened for printing, and the order is marked as generated during that session.
You can also generate the guide without touching the mouse scanning the action code from Scan & Go (see the next section).
Action code to generate the guide
You can print a special barcode from Scan & Go. When you scan it (with the reader), the system attempts to create the guide from the order you have on file, provided that:
- There is an order displayed on the screen.
- All pending products are marked as packed.
- The order includes shipping and has not yet been fully fulfilled.
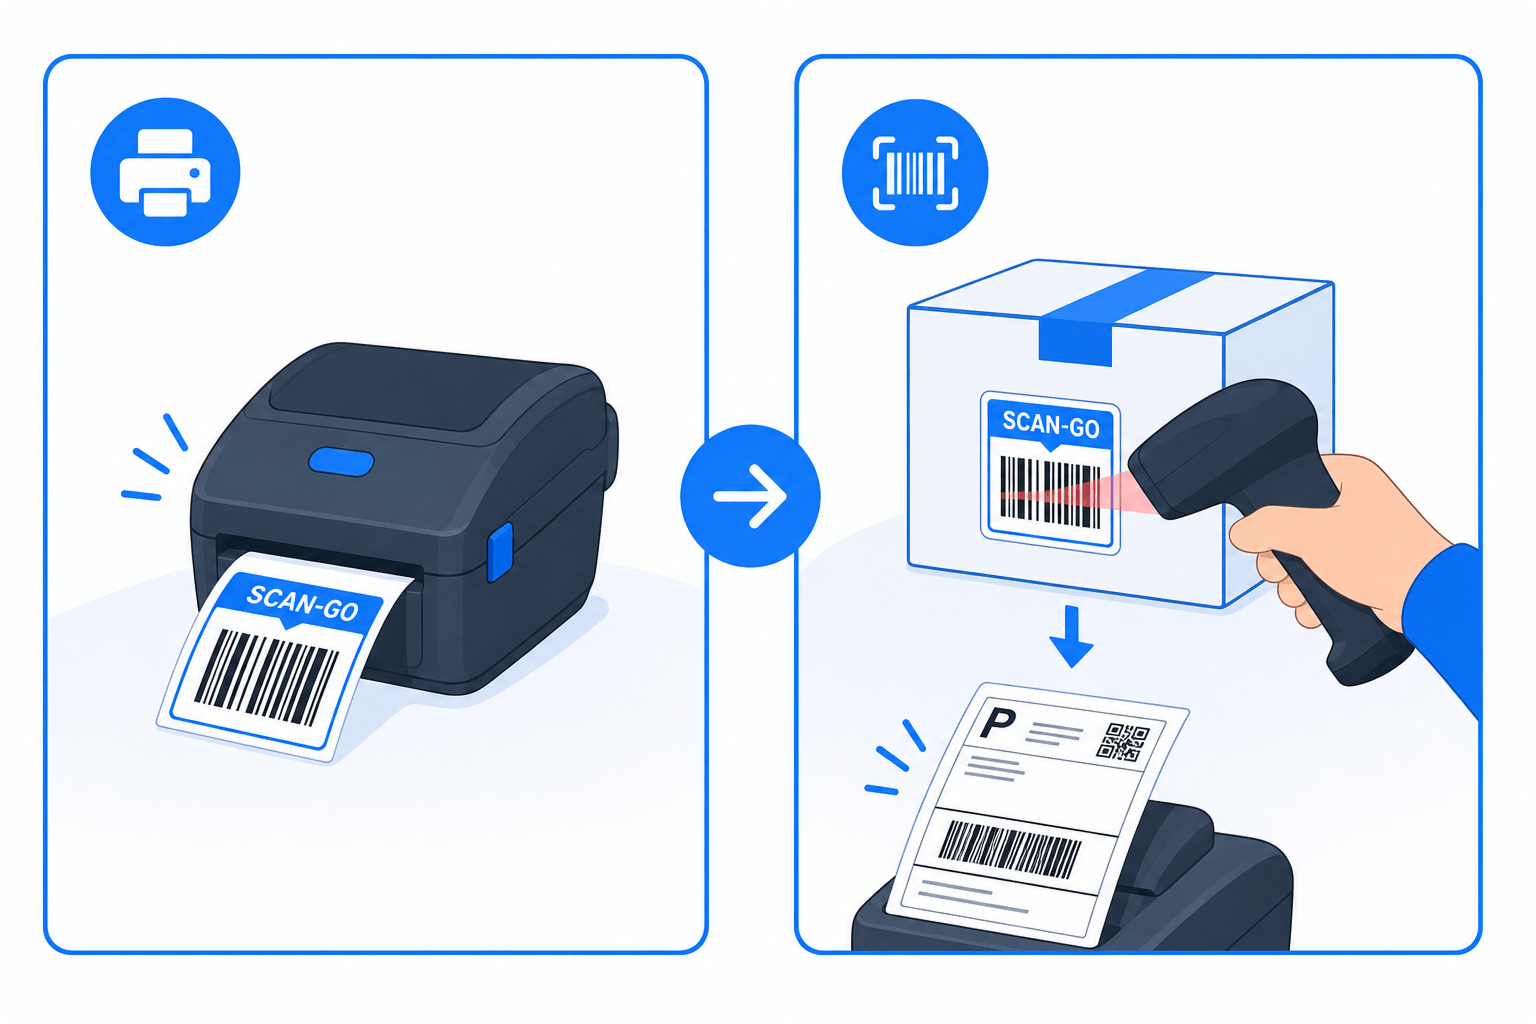
ℹ️ The code for the packing slip identifies the order. The action code Scan & Go does not create a new order: it generates the order form for the order you've already entered.
ℹ️ If you scan the action code when it cannot be generated (for example, some products haven't been marked yet), You'll see a notice and The current order is not deleted. That way, you won't lose your place in the package.
Processing Multiple Orders Using the Queue
If you select multiple orders in Ecommerce and open Scan & Go, the screen opens to queue mode:
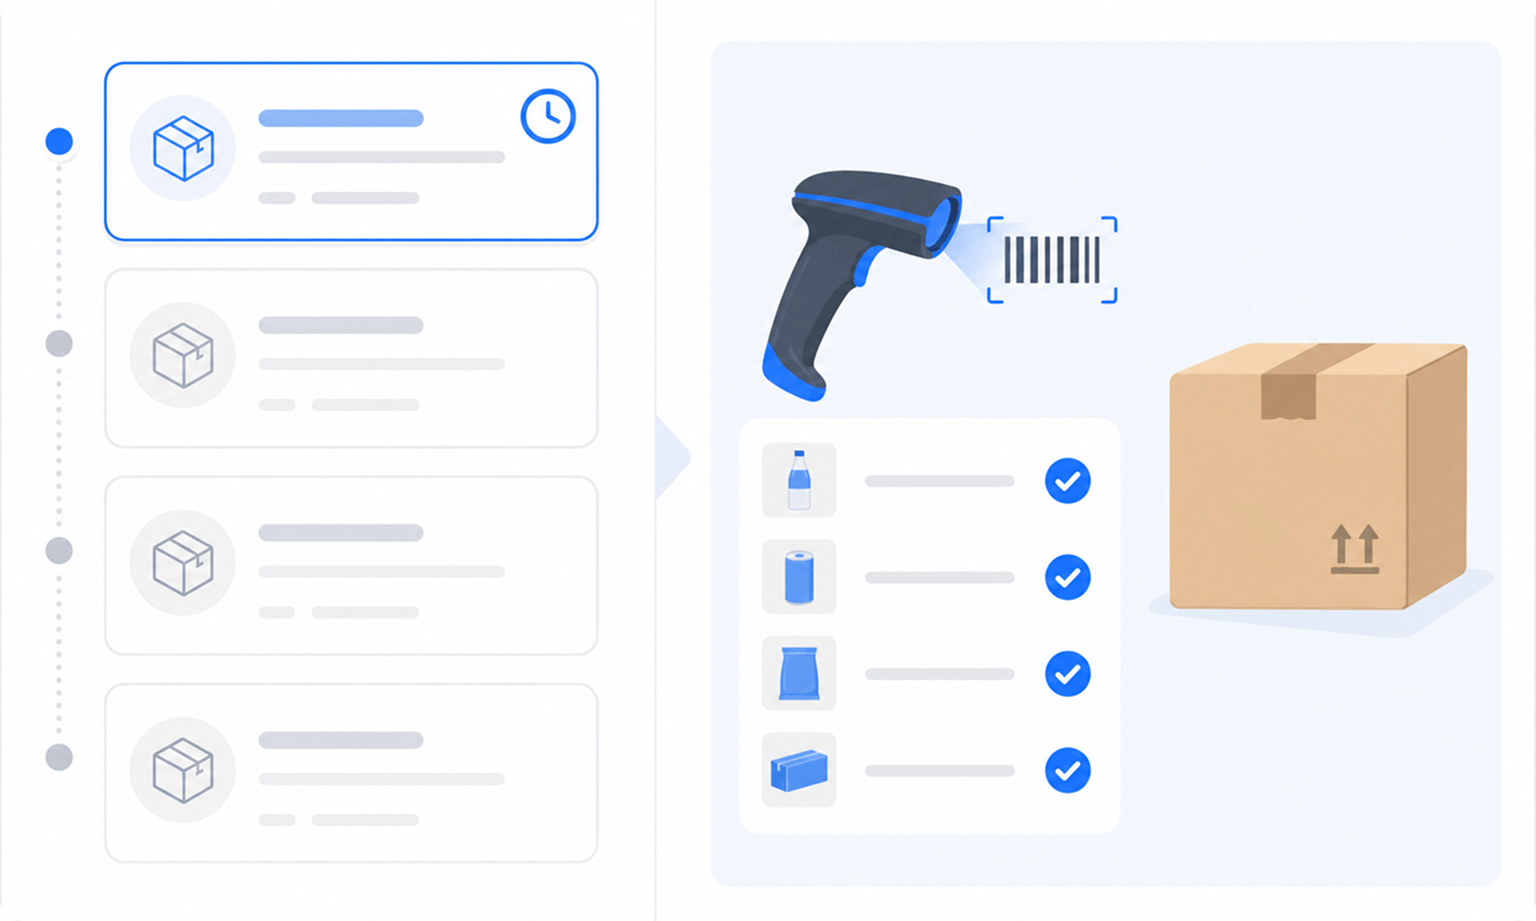
- On the left, you'll see the list of orders to be processed.
- On the right, you work on the active order (scan products, verify, and generate a shipping label).
- By default, the queue is sorted in oldest to newest (FIFO), so that you handle the items that arrived first.
- You can change the sort order (most recent first) using the queue sort control.
- When you successfully generate the guide, Scan & Go automatically moves on to the next pending order.
How to Send It from E-commerce
- Go to Ecommerce Pro > View Orders
- Select the orders you want to process.
- Click Scan & Go and the page showing those orders in the queue will open.
ℹ️ You can upload up to 400 orders in the queue. If you select more, the first 400 will be taken, and you'll see a notification.
While you're in line, you can also scan an order code: if it's on the list, it will be selected; if not, Scan & Go will try to add it as a new order.
If you want to exit queue mode and go back to scanning order by order, use the option to clean up the mess.
Orders that have already been fulfilled or partially fulfilled
| Situation | What Happens at Scan & Go |
|---|---|
| Order Fulfilled | You cannot regenerate the guide. You'll see a message with the tracking information and the option to Download the guides existing. |
| Partial compliance | You'll see which packages already have a shipping label. You'll only be able to generate shipping labels for the ones that are still missing one. Products that have already been shipped are marked as such and won't be repackaged. |
| No package delivery | You won't be able to create the shipping label until you select a shipping carrier in Ecommerce. Scan & Go provides a link to open the order there. |
Tips for Working Faster
- Keep the packing slip handy: the order number is on it.
- Use an HID reader (the one who types on a keyboard): You can scan even if the cursor isn't in the field, as long as you aren't typing in another input field.
- On a cell phone, use the camera if you don't have a physical scanner.
- Trust the sounds: they confirm a successful scan, an error, a created guide, or warnings, so you don't have to rely solely on the screen.
- In a queue, stick to FIFO order if you want to process the oldest orders first; change the order only if your operation requires it.
- Check all products before generating the order: this is a check to prevent incomplete shipments.
FAQ
Does Scan & Go replace the e-commerce screen? No. It's a streamlined process for packing and generating shipping labels. You'll still handle tasks like creating quotes, choosing a shipping carrier, editing packages, and other actions in Ecommerce as needed.
Do I need a barcode scanner? It's not required. You can enter the order code or, on a mobile device, scan it with the camera. The physical scanner greatly speeds up the workflow in the warehouse.
Where is the code I need to scan? On the order's packing slip. If you don't have it yet, generate or print it from Ecommerce before using Scan & Go.
Can I generate the shipping label without selecting the items? No. You must mark all pending items as packed. If any are missing, the "Create Shipping Label" button will remain disabled or display a warning.
What happens if the order already has a tracking number? Scan & Go doesn't generate new reports. It shows you that the process is complete and lets you download the existing reports.
Can I process several orders in a row? Yes. Select them in Ecommerce and open them with Scan & Go. They are added to a queue; when one is finished, the system moves on to the next one in line.
Does it work on a cell phone? Yes. In mobile view, you can scan the code using your device's camera, or you can enter it manually.
Does Scan & Go generate the same type of report as Ecommerce? Yes. It uses the same generation and fulfillment process as the main Ecommerce screen, but it's optimized for the scanning workflow.

Did you find this resource useful?