

Generate a label from Ecommerce Pro
Generating a shipping label from Ecommerce Pro is a simple process that lets you manage your shipments efficiently. Follow the steps below to make sure all the data is correct and your package arrives at its destination without issues.
Steps to generate a label
Section titled “Steps to generate a label”-
Go to Envia.com
-
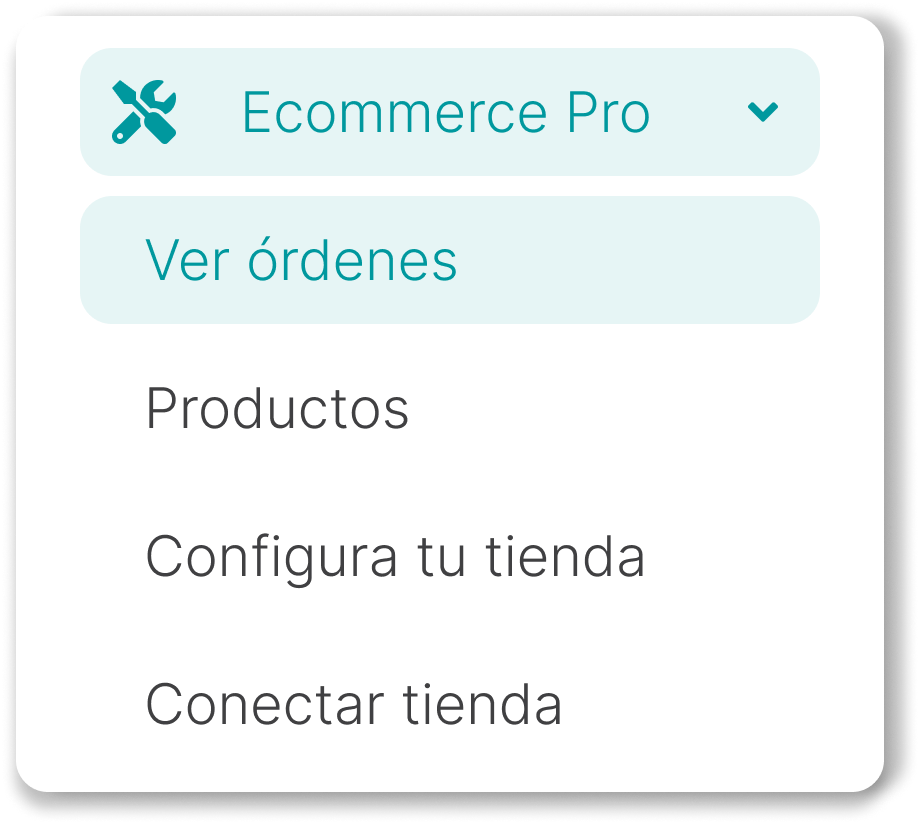
Open Ecommerce Pro > View orders
-
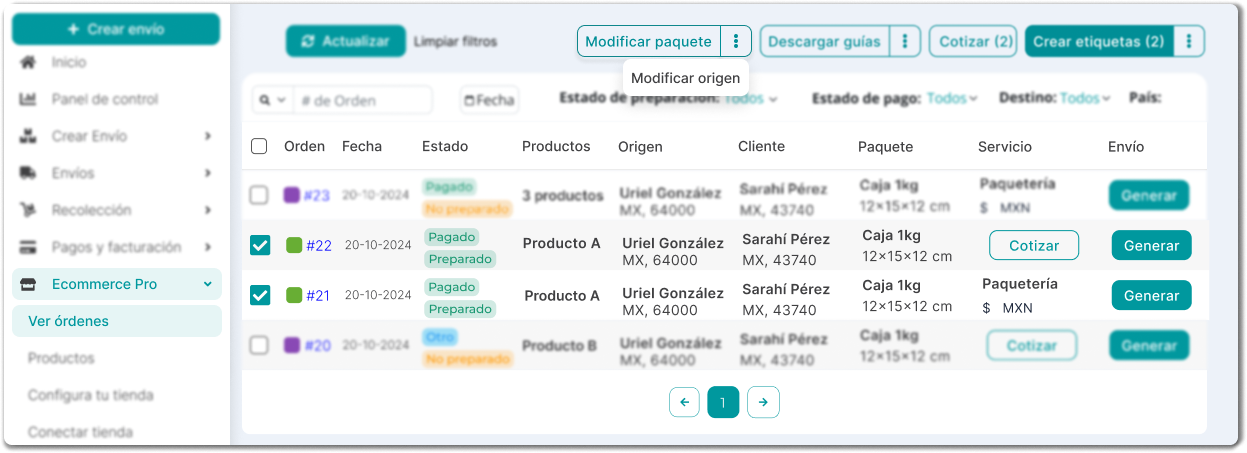
Review your orders and verify the following data;
- **Origin address:**Confirm that the origin address is correct
- **Assigned package:**Verify that the assigned package is the right one
- If you need to make changes, select the order and click Edit package or Edit origin
-
Find the order you want to generate the label for. Click the Quote button and select the shipping service that best fits your needs
-
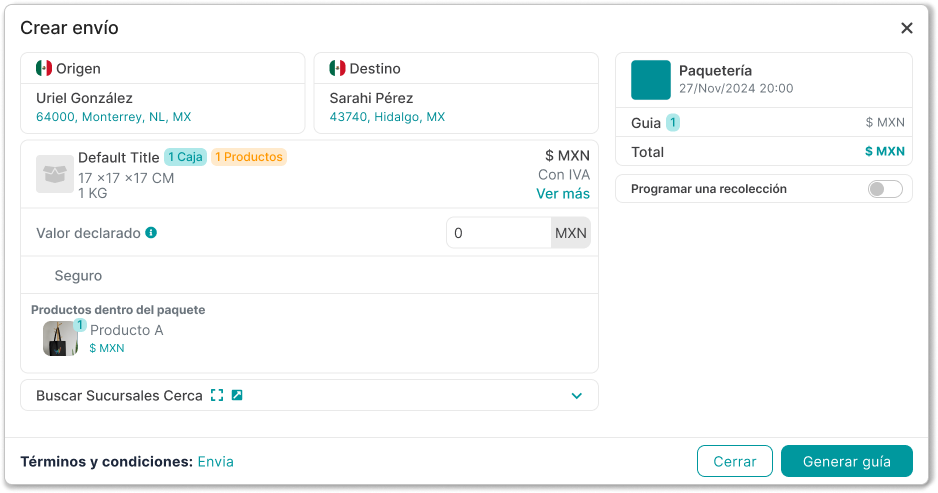
Once you select the service, click Generate and review that all the information is correct:
- Destination address.
- Package data:
- Dimensions *(length, width, height)*and weight (kg).
- Declared value (optional). Enter the real value of the product in the package.
- Insurance*(optional).* If you decide to add it, enter an amount equal to the declared value for greater coverage.
- Products inside the package
- Service and shipping cost. Review the selected service and the corresponding cost.
- Shipping options:
- Schedule a pickup, if you want your package to be picked up. (More information about pickups).
- Find nearby branches, if you prefer to drop off your package at a nearby branch.
-
Click Generate label to finish the process
Steps after generating the label
Section titled “Steps after generating the label”- Download your label in PDF format
- Print the PDF and attach it visibly on the package
- Go to the My Shipments section to monitor your shipment status at all times