

Set up custom fields in Shopify
Improve address capture in your Shopify store connected to Ecommerce Pro on Envia.com. This setup lets your customers enter street, number, neighborhood, and references clearly, which makes it easier to create labels and improves the shipping experience.
Set up the address fields
Section titled “Set up the address fields”-
Open the settings of your Shopify store.
- Sign in to your Shopify account.
- Go to Settings > Checkout.
-
Adjust the required and optional fields.
- References field (as company name):
- In the Customer information section, find Company name.
- Mark it as optional.
- Neighborhood field (as address line 2):
- In the same section, find Address line 2 (apartment, suite, unit, building, floor, etc.).
- Mark it as required.
- Phone field: mark it as required.
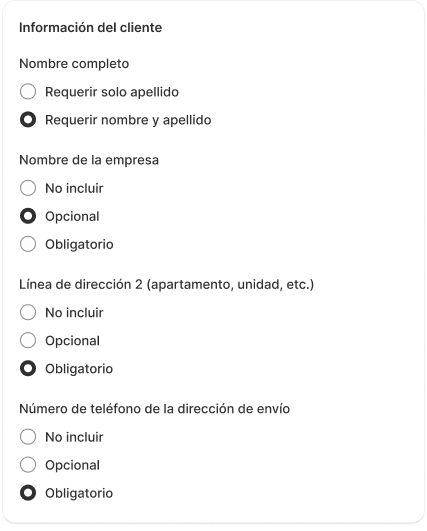
- References field (as company name):
-
Change the checkout texts (language).
- In the settings menu, go to Checkout language.
- Click Manage checkout language.
- Make sure you are on the Checkout & system tab.
- Change the default texts:
Field New text Optional company label References (optional) Address2 label Neighborhood Address1 label Address (street, avenue, exterior and/or interior number) - Save the changes.
Expected result
Section titled “Expected result”With this setup:
- The customer will be able to enter the full address correctly in separate fields.
- The Neighborhood field will be required and clearly identified.
- The References field will be available as optional to indicate extra details about the address.
Additional setup in Envia.com
Section titled “Additional setup in Envia.com”-
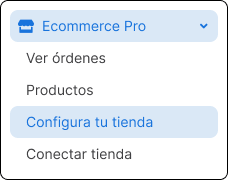
Go to the Set up your store section
-
Scroll to the Advanced settings section and turn on the Destination address option

This improves the sync of the addresses entered in Shopify with Envia.com, ensuring labels are generated correctly and a better shipping experience.